Setting up a dedicated charging station for your devices is a simple way to keep your home or office organized while ensuring that all your gadgets stay powered up. Whether you have smartphones, tablets, headphones, or other electronics, a well-planned charging station can reduce clutter, prevent lost chargers, and make your daily routine smoother. In this post, we’ll walk you through the steps to create an effective and convenient charging station tailored to your needs.
Why Set Up a Charging Station?
Before diving into the how-to, here are a few reasons why having a charging station is beneficial:
– Organization: Keeps cables and devices in one place, reducing mess.
– Accessibility: Makes it easy to grab your device fully charged.
– Safety: Avoids potential hazards from tangled wires or overloading outlets.
– Efficiency: Charges multiple devices simultaneously, saving time.
Planning Your Charging Station
The first step is to consider your needs and the available space.
1. Identify What Devices You Need to Charge
Take stock of all the devices you regularly use that require charging. This might include:
– Smartphones
– Tablets
– Wireless earbuds or headphones
– Smartwatches
– Portable power banks
– E-readers
– Other small electronics
Knowing the number and type of devices helps determine how many charging ports or cables you’ll need.
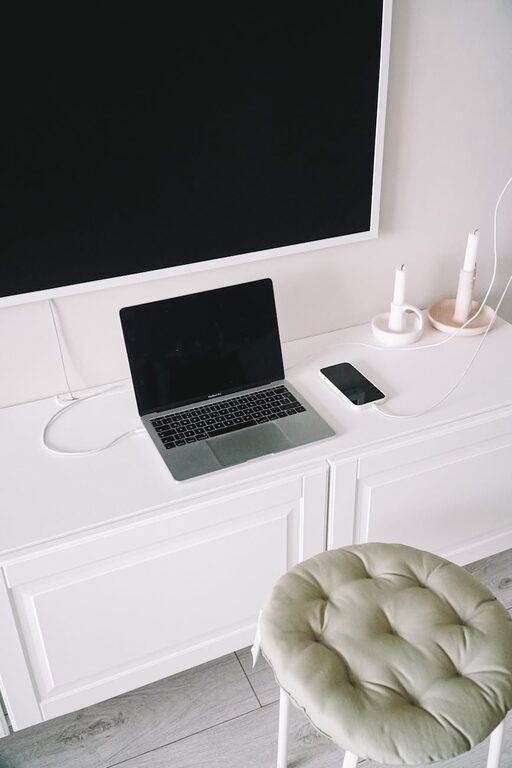
2. Choose a Suitable Location
A good charging station should be in a central, convenient spot like:
– A desk or work area
– Kitchen counter
– Living room side table
– Entryway console
Make sure the area has access to electrical outlets and is away from water sources or high-traffic zones that might get in the way.
3. Consider the Available Power Sources
Think about the number and type of power outlets nearby. You might need:
– A power strip with multiple outlets
– A USB charging hub
– Wireless charging pads
Also, ensure your power setup supports the total power needs of all devices charging at once.
Gathering Materials and Tools
Once you have a plan, gather the following items to build your station:
– Power strip or charging hub
– Cable organizers or clips
– Charging cables compatible with your devices
– Wireless charging pads (optional)
– Small box or tray to keep chargers and devices
– Mounts or stands to hold devices upright (optional)
– Labels (optional)
Setting Up Your Charging Station: Step by Step
Step 1: Choose the Power Source
Plug your power strip or charging hub into a wall outlet. If you use a power strip, pick one that has surge protection for safety.
Step 2: Arrange Your Charging Devices
Place your devices in a way that allows easy access and visibility. If you have stands or mounts, use them to keep devices upright and prevent overlapping.
Step 3: Organize Your Cables
Use cable organizers, clips, or ties to keep your charging cords neat and untangled. You can attach clips to the edge of a desk or inside a box to guide cables and avoid a mess.
Step 4: Connect Your Devices
Plug each charging cable into the power source and connect your devices. If using wireless chargers, place compatible devices on the pads.
Step 5: Keep Accessories Together
Store extra cables, adapters, and small electronic accessories in a small container near the station so you can find them when needed.
Step 6: Label Chargers and Cables (Optional)
Labeling cables or charging ports can be especially helpful if multiple people use the station or if devices have similar connectors.
Tips for Maintaining Your Charging Station
– Regularly check cables for fraying or damage to avoid hazards.
– Unplug devices once fully charged to conserve energy and prolong battery life.
– Keep the area clean by dusting and removing unused cables.
– Update equipment as your device collection changes, ensuring all devices are compatible.
– Use smart chargers to optimize charging speed and protect battery health.
Optional Enhancements
– Add a small lamp near the station for better visibility.
– Use decorative boxes or baskets to blend the station into your room’s decor.
– Integrate a wireless charging dock for simplicity.
– Add USB ports to furniture for built-in power options.
Conclusion
Building a dedicated charging station is an easy DIY project that makes daily device management simpler and your space tidier. By planning ahead, selecting the right power solutions, and organizing cables and gadgets thoughtfully, you can create a functional and stylish hub for all your charging needs. Start with a small setup and adjust as needed based on your device collection and routine.
With your new charging station, you’ll spend less time hunting for cables and more time enjoying your fully powered devices!

